


Product Owner
Sarah Berger
03.07.2023
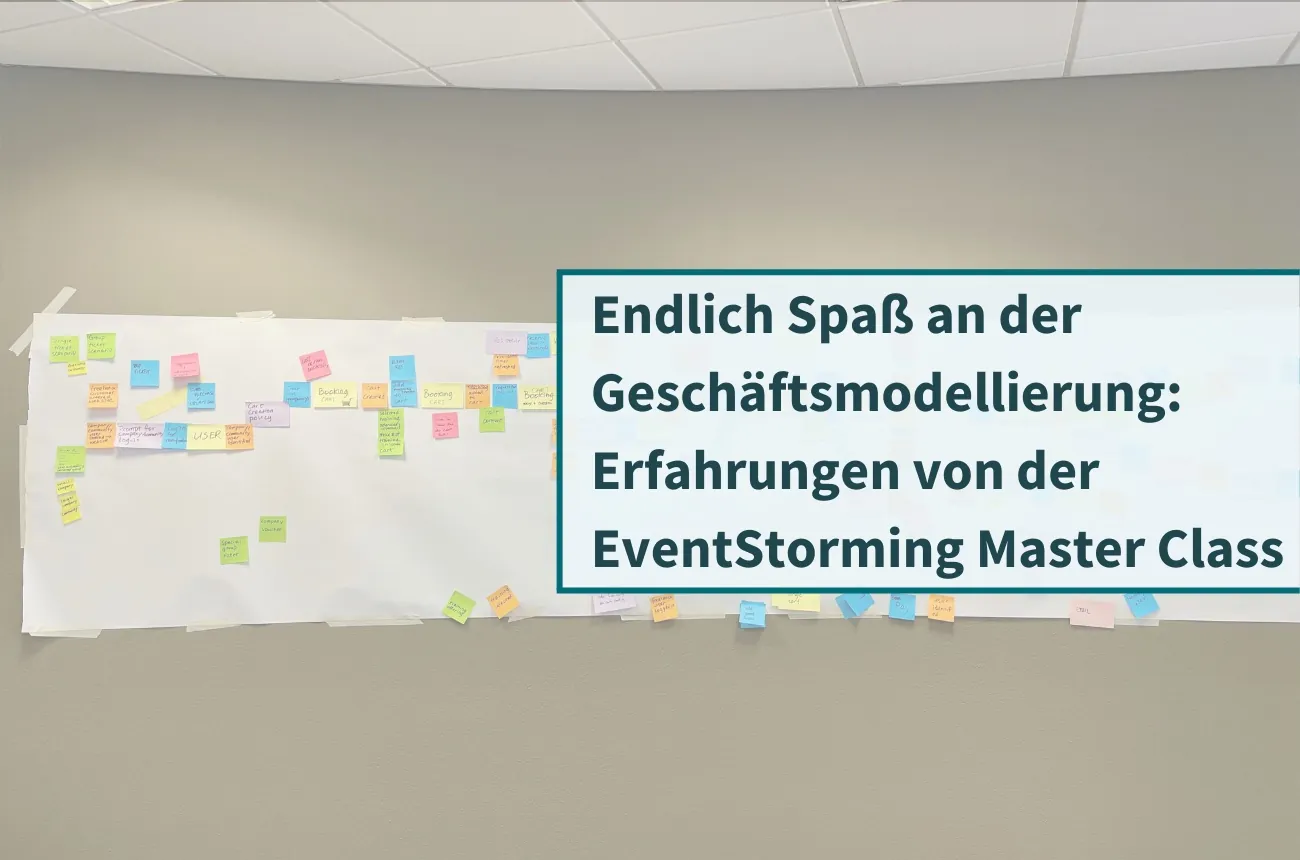
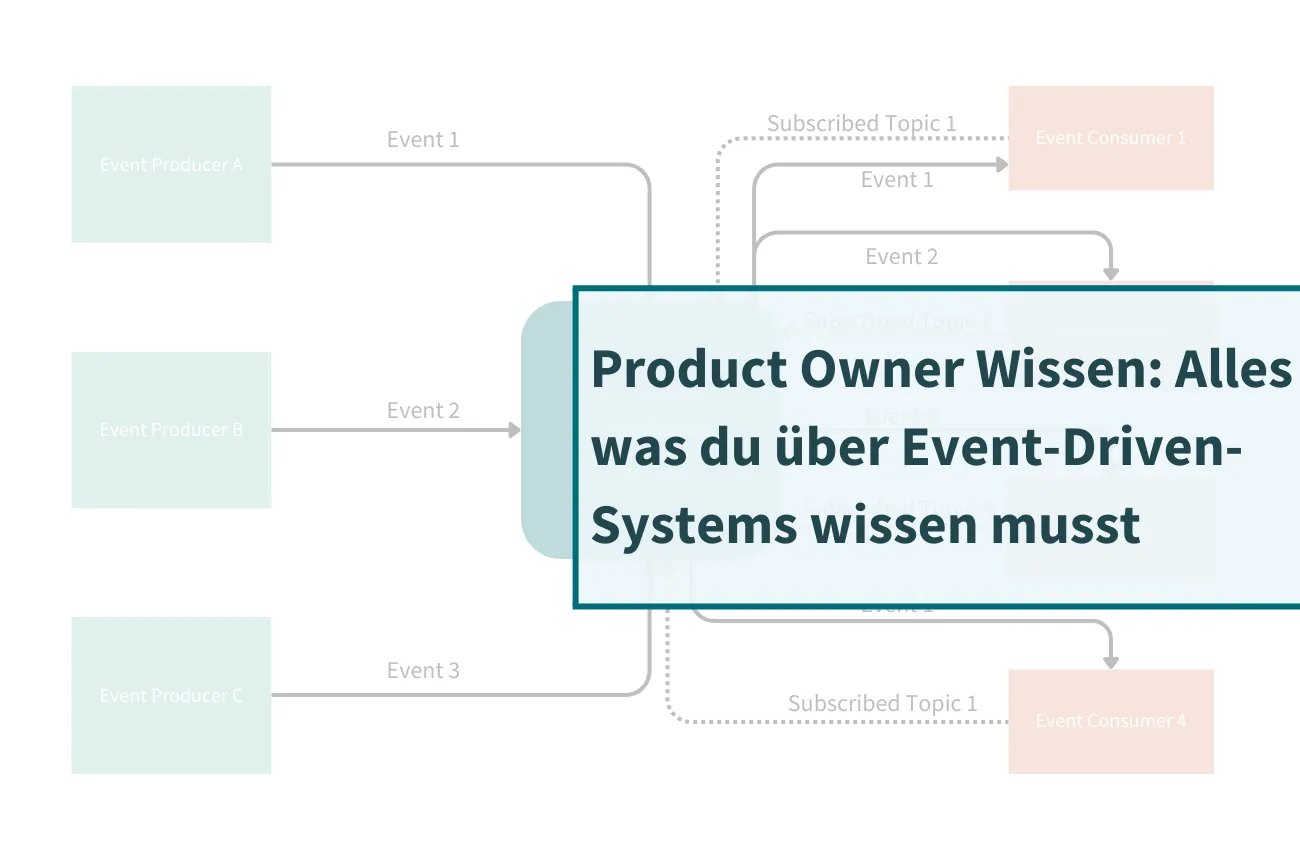
Alles was du als Product Owner über das Thema Event-Driven-Systems wissen musst
In einer digitalisierten Welt, in der Echtzeitkommunikation und hohe Benutzererwartungen an der Tagesordnung sind, können Event-Driven-Systems ein wertvolles Werkzeug für die Optimierung deiner Produktentwicklung sein. In diesem Blogartikel werden wir uns genauer mit Event-Driven-Systems befassen und besprechen, warum du als Product Owner darauf achten solltest, ob du ein Event-Driven System entwickelst.
Mehr erfahren